Skip to search
Skip to navigation menu
Skip to main content
Selecting option will reload page
Chat with us Now
Ship To
➤
Search for products
When autocomplete results are available use up and down arrows to review and enter to select. Touch device users, explore by touch or with swipe gestures.
- You need to enter a search -
Please click
'Find What You Are Looking For!'
, type and click the
'Search'
button.
Example:
Type in 'Pom poms', click the 'Search' button
New
Sale
Craft Supplies
Florals
Miniatures
Home Decor
Seasonal
Paper Mache
Primitives
Wood Crafts
Questions? - Contact Customer Service
Free Shipping
- orders over
$50
*
Fun Projects
Welcome
-
Register
-
Sign In
Favorites
My Cart
0 Items
$0.00
No Items in Your Cart... Yet
Summer Feelings
Summer is getting closer. Warm temps and bright colors are coming in hot! Shop the newest summer floral now!
Shop Now
Shop Birds & Butterflies
➤
Shop Paper Mache
➤
Shop Natural Grapevine
➤
Shop Candle Cups / Holders
➤
Shop Bushes + Bouquets
➤
Shop Rusty Tin Primitives
➤
Shop Memorial Day
➤
Shop Wooden Plaques / Signs
➤
Shop Craft Supplies
➤
Shop Dollhouse Miniatures
➤
Shop Fairy Garden Supplies
➤
Shop All Wood Cutouts
➤
Shop
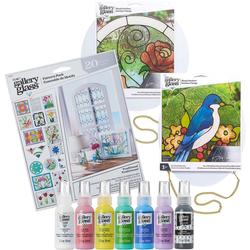
Gallery Glass Stained Glass Painting Starter Kit
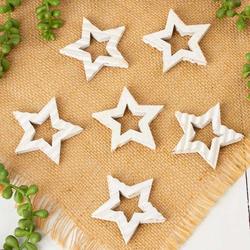
Rustic Whitewashed Wood Star Cutouts
"May Angels Guide Your Path" Shelf Sitting Angel
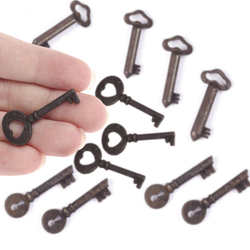
Vintage Look Skeleton Keys Assortment
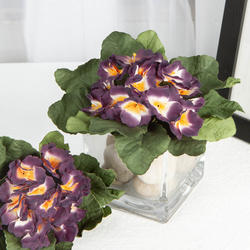
BUY ONE GET ONE Artificial African Violet
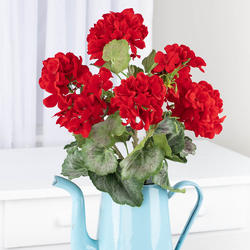
UV Protected Indoor or Outdoor Faux Red Geranium Bush
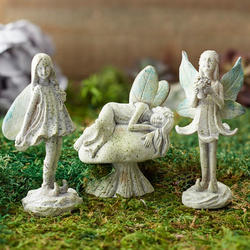
Garden Fairy Garden Set
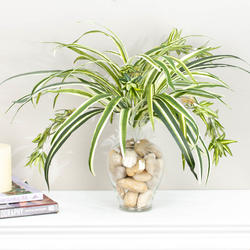
Artificial Spider Plant Bush
Learn
Favorite Projects
➤
DIY Boxwood Butterfly Wreath for a Fresh Spring Look
Meet Our Family
Change Your Country
Please select your country:
Note: Changing your country is simply to help tailor your experience at checkout. All orders are charged in
USD
at the time they are placed
Cancel
Please Correct The Following
OK
Help Chat In Progress
Before you go
Are you sure you want to leave?
Enter your email below and receive a personal coupon for
$5 USD off
your order,
$35 USD min. subtotal required
.
Please enter a valid email
By redeeming your coupon you're agreeing to be added to our weekly sales and future coupon offer newsletters.